I played some more in my Dina Wakely Media journal. And I do mean play. I am having so much fun in this book! Something about all the different paper types is freeing me to just put paint to paper and I am loving every minute of it.

This is on a watercolor page. I used Dylusion Sprays to create the background. I was grabbing whatever looked blue or blue-ish from the pile so I know there are blues, purples and teals in the sky. The ground is a mix of greens and yellows and maybe orange. I was just spraying paint and water until I got a look that I liked.
After letting it dry for a day or so I added the rabbit. He was painted with acrylics, a random mix of whites, creams and browns with a touch of black to create gray and the eyes.
And again we wait lol
When I found time to return I added the tulips. These are entirely done with Scribble Sticks, magenta, white, and blackberry for the flowers. Lemon, lime and night for the leaves and stems.
I created the pattern on the ground using a Dina Wakely stencil that looks like leaves or feathers and also a Dyan Reavely stencil that is leafy branches. I used Distress Inks in browns and greens, again randomly dabbing into whatever pad I thought might work to get the look I wanted.

My brother in laws birthday is next week.I got the card mailed out in time! I am doing really well this year!
The frame and embellishments are from the Magic Slider die set, Kit137, from LDRS creative.
This is such a fun set to play with. My only issue is finding stamps that are small enough to fit in the frame yet large enough to color. This basic, uncolored image is stamped on a piece of acetate.

Here is the slider halfway up revealing a colored layer below.

And here it is fully open. The cards are fun to make and to receive.
This is one of the mini Crazy Dogs from Tim Holtz. He fits perfectly in the frame along with his fancy party hat and balloons from the Mini Bird Crazy and Things set.

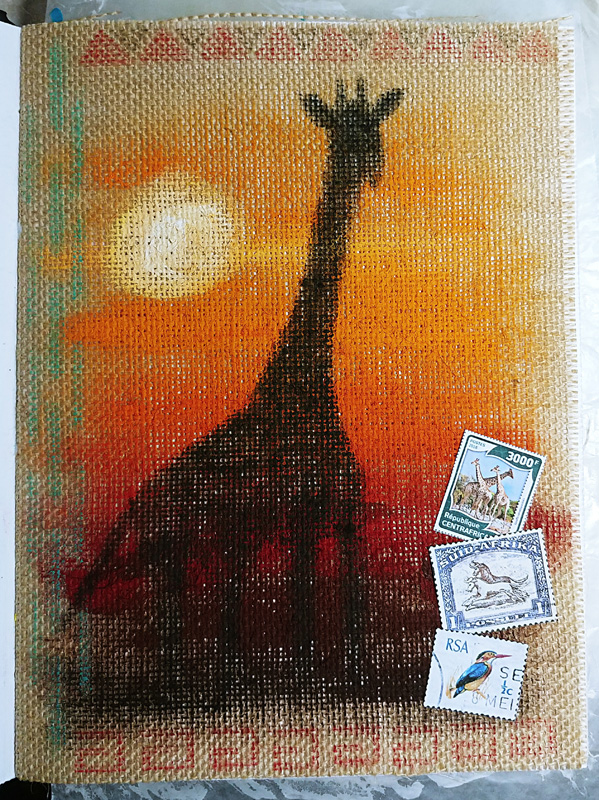
And my last project of the week, a giraffe tag. Yes, I am still obsessed with giraffes. I just love them!
I created the background by laying down layers of Distress Inks and Oxides in browns, reds and golds. I then used stencils to apply the squiggles, triangles and dots. I outlined the triangles with a black Sharpie pen.
The background giraffe, from Rubber Stampede, was stamped 3 times using Distress Ink in Walnut Stain. I then used a water brush to soften the image.
I stamped the giraffe head, from Impression Obsession, onto white cardstock again using my Distress Walnut Stain ink pad. I colored him in with Spectrum Noir alcohol pens. And used my black Sharpie pen to make his eyes black.
I rubbed some Distress Ink in Tea Dye and Walnut Stain to create a drop shadow behind him. The giraffe was added to the tag with double sided foam tape to lift him up off the surface. He didn't stand out as much as I wanted so I added more ink to the tag, Candied Apple to the upper right, Peeled Paint to the lower left. Both are Distress Oxides.
I am going out of town next week for my job. Hubby is wondering what I am going to wear because so far my suitcase is packed with mostly art supplies lol It could get very interesting when I try to explain my attire at my meetings :-)
Until next time...Happy Crafting!